


Basic maintenance steps
The following are the basic steps for generator maintenance, organized in a systematic process, taking into account both safety and operability:
I. Preparations Before Maintenance
Safety measures
Shut down the machine and cut off all power sources (disconnect the negative terminal of the battery).
Close the fuel valve and drain the remaining fuel (in view of the risk of fuel leakage).
Hang warning signs to prevent accidental startup.
Tools and Materials
Essential tools: multimeter, torque wrench, insulating gloves, feeler gauge, cleaning agent.
Refer to the manual: Obtain the circuit diagram, torque parameters, etc. of the specific model (if there is no manual, you can consult the brand's official website).
Ii. Fault Diagnosis Process
Preliminary observation
Check the appearance: oil leakage/water marks, cable damage, burnt smell.
Listening for abnormal sounds: Press a screwdriver against the component and listen to the sound to locate it (such as abnormal sounds from bearings).
Subsystem investigation
① Fuel system
Disassemble and inspect the filter to see if it is clogged.
Check the fuel pump pressure (the normal value for diesel engines is usually 0.2 to 0.5MPa).
② Circuit system
Measure the battery voltage (it should be ≥12.6V under no-load conditions).
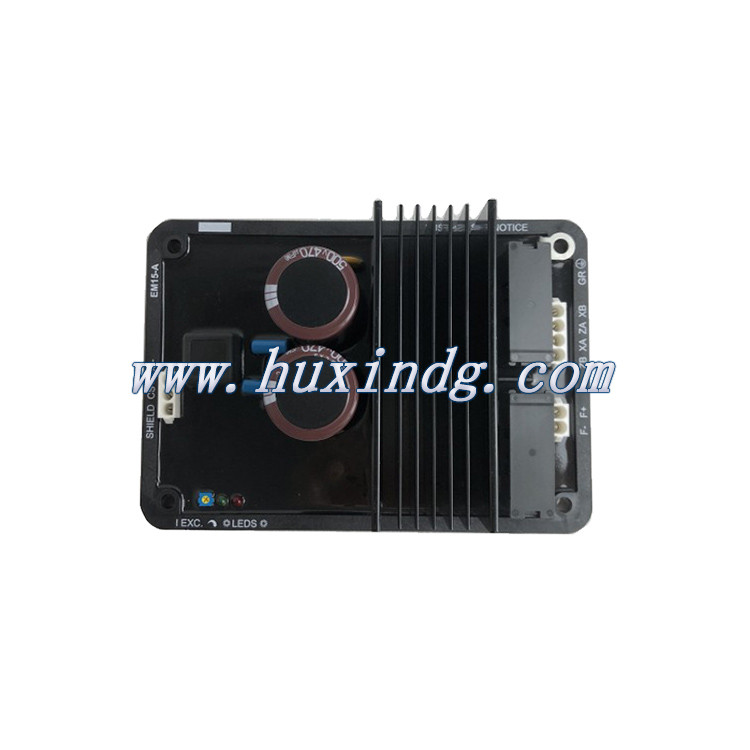
Test the AVR (Voltage Regulator) : Disconnect the excitation wire. After powering on, measure that there should be a 1 to 5V DC voltage at the excitation terminal.
③ Mechanical system
Check the belt tension (it is best if it hangs down by 5 to 10mm when pressed with the thumb).
Turn the crankshaft: Feel the compression force of the cylinder (if there is no pressure, the valves may get stuck).
Iii. Key Maintenance Operations
Replace the worn parts
Bearing replacement
Heat the new bearing to 80℃ (hot mounting method).
Use a puller tool to remove the old bearing and avoid knocking on the shaft body.
Carbon brush replacement
Check whether the contact surface is smooth. The spring pressure should be ≥0.1kgf/cm².
Electrical maintenance
Winding test
Measure the insulation resistance with a megohmmeter (the winding should be greater than 1MΩ to ground).
The deviation of the resistance values of the three-phase windings shall not exceed ±5%.
AVR debugging
Adjust the no-load voltage to ±5% of the rated value (for example, 380V±19V).
Engine debugging
Valve clearance adjustment (taking diesel engines as an example) :
When the machine is cold, the intake valve is 0.15 to 0.25mm and the exhaust valve is 0.20 to 0.30mm (refer to the manual).
Fuel injection timing calibration
Measure the plunger stroke with a dial indicator and position it at the Angle as per the manual.
Iv. Testing after maintenance
No-load trial run
Observation after startup:
Voltage stability (fluctuation should be less than ±2%).
Has the abnormal noise/vibration been eliminated?
The infrared thermometer detects the temperature of the bearing (normal < 70℃).
Load test
Stepwise loading (25%→50%→75%→100% rated load).
Monitor the voltage/frequency at each stage (the frequency deviation should be less than ±1Hz).
V. Maintenance Suggestions
Preventive maintenance Form
Key points for project cycle (hours) operation
The engine oil should be changed to 50-200 grades based on the SAE viscosity grade
Air filter 100 compressed air reverse purge
Every month, apply vaseline to the terminals of the battery for anti-corrosion inspection
Long-term storage
Empty the fuel tank and add fuel stabilizer.
Start once a month (run for 10 minutes).
Vi. Risk Warning
No operation allowed.
Live repair of rotor windings (which may cause arc damage).
Check the running belt by hand (which can easily cause entanglement).
Professional repair scene
Deformation of the crankshaft/connecting rod, large-scale burning of the stator winding, etc. need to be returned to the factory for repair.